
 Jump to recipe
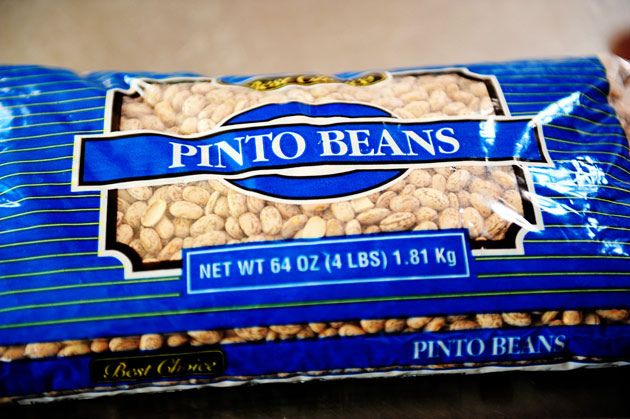

Start with pinto beans.
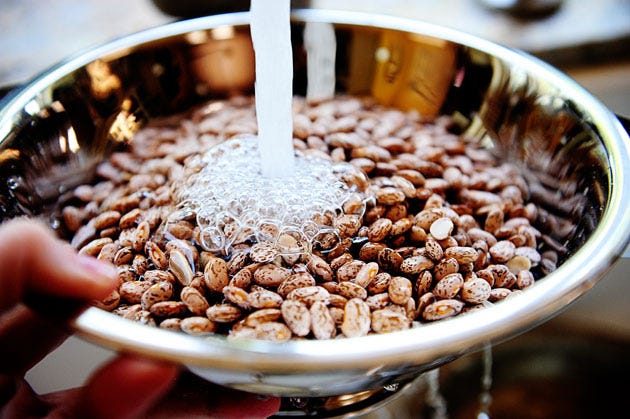

Rinse them in a colander under cold water.
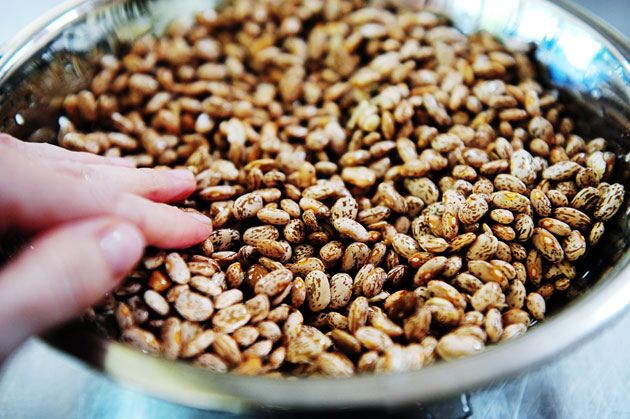

Pick through the beans and remove any pebbles or other debris that doesn’t belong.
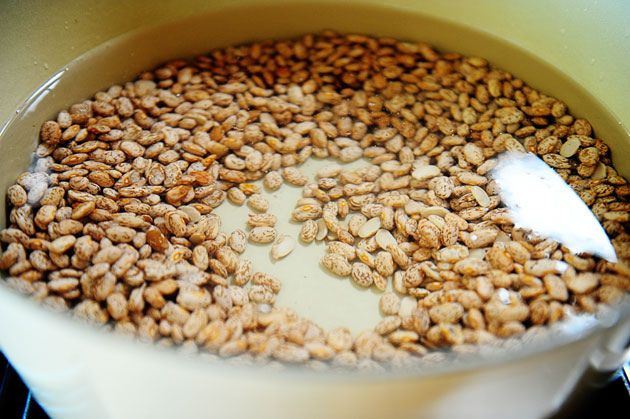

Throw ’em into a pot and cover with water by about two inches.
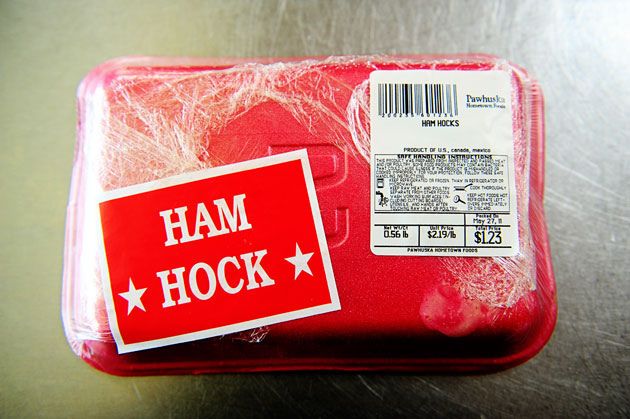

Grab a ham hock and throw it in with the beans. You can also do diced ham, diced bacon–any fatty/salty pork product with some fat for flavor.
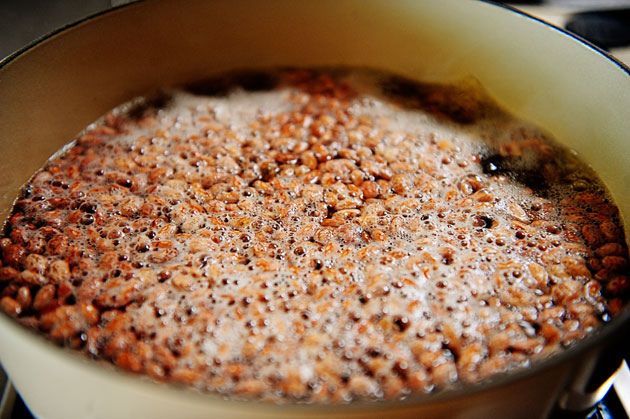

Bring ’em to a boil…
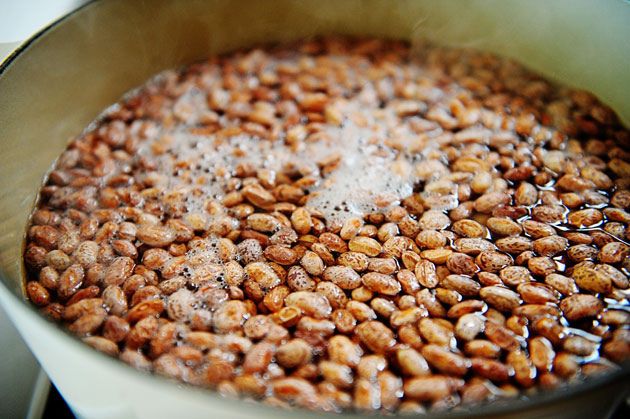

…Then reduce the heat to a simmer.
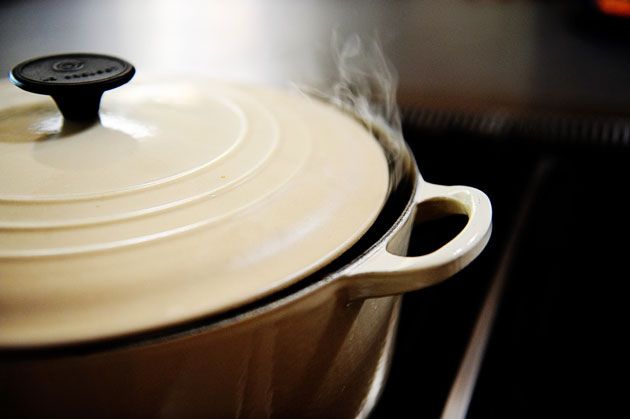

Cover and simmer for a couple of hours. I did cover the pot tightly, but I wanted to let a little steam out for this photo because I love photographing steam. It’s a weird, twisted hobby of mine.
UPDATE: A note about soaking: I never soak my pinto beans. The reason for this is that I am not a planner. I want to have the idea to make beans, then just make beans without a bunch of waiting. But if you are a soaker, you can go about it two ways:
1. Cover the beans with water, then cover and allow to sit for four to six hours. Then pour off the water, refill with fresh water, and proceed with the cooking instructions.
2. Bring beans to a boil, the turn off the heat. Cover and allow to sit for an hour or two. Then pour off the water, refill with fresh water, and proceed with the cooking instructions.
But that’s too much work for me.
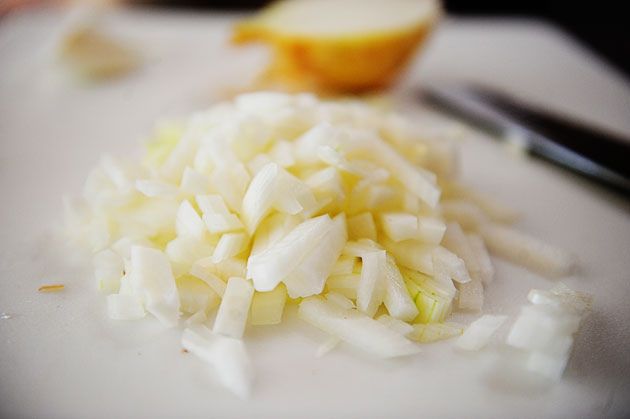

While the beans are simmering, dice up a big, fat onion.
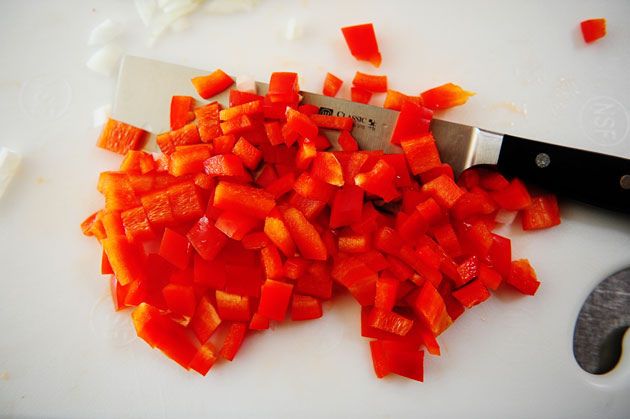

Do the same with a couple of red bell peppers.
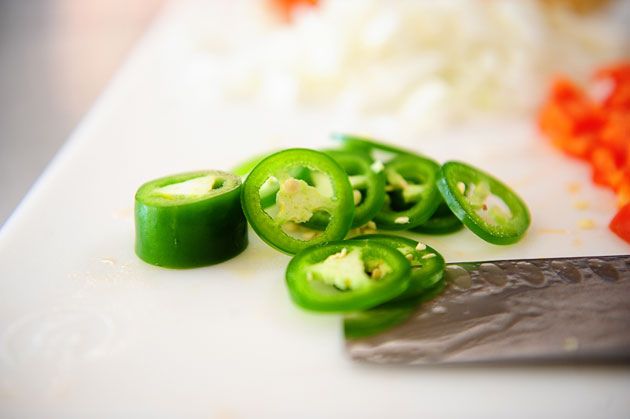

Slice up a couple of jalapeños, too. Leave in the seeds if you can handle the heat!
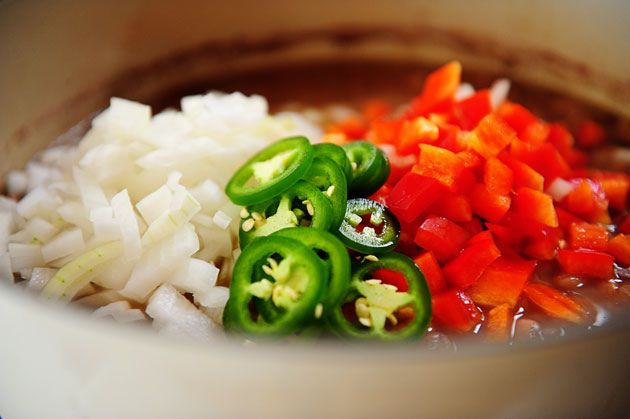

After the beans have simmered for a couple of hours, throw in the onions and peppers.


Stir them in, then cover and continue to simmer for an hour or two. You’ll want to watch the beans as they cook. If the water level gets too low, add in more…but not too much! You want to have a nice, thick bean gravy when it’s all said and done.
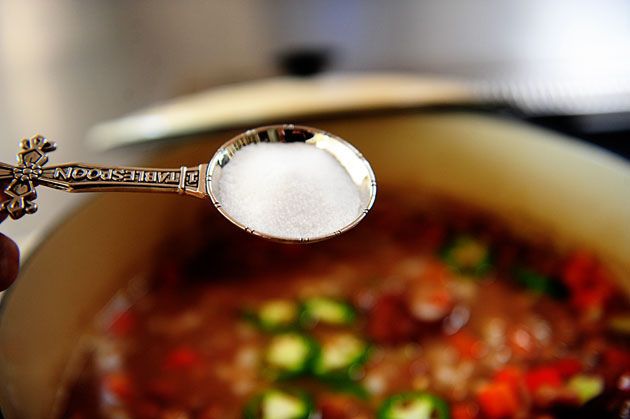

Oh! And be sure to add salt…
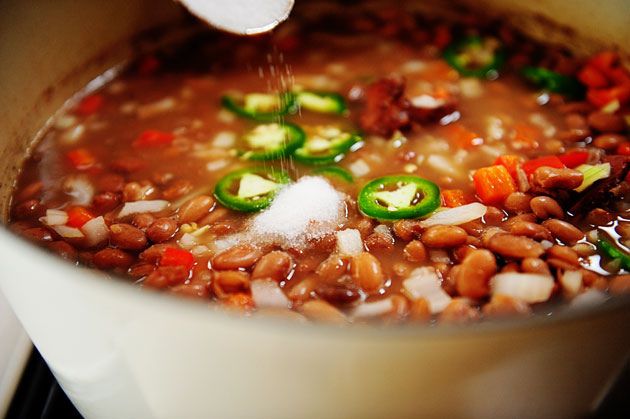



And plenty–plenty, plenty, plenty–of black pepper.
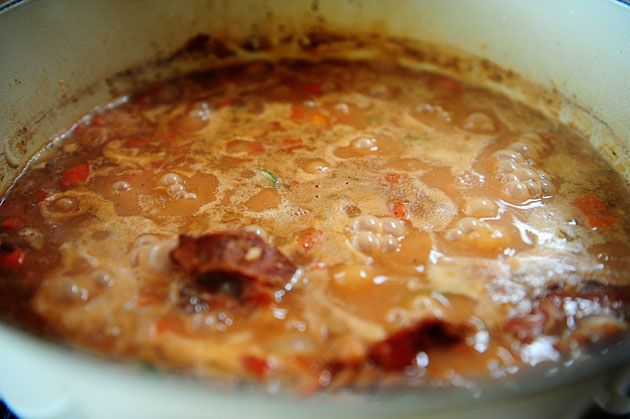

Mmmm. This is awhile later. It’s looking thick and rich and delicious, and the juice/gravy is just right.
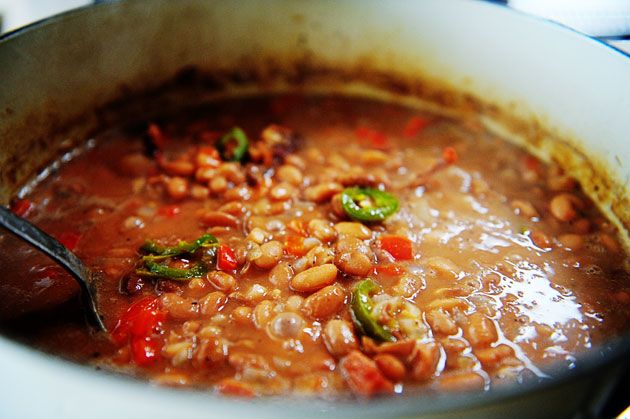

Score. A direct hit.
If you’re not a bean person, make a pot this weekend! You’ll be amazed at how versatile they are.
If you are a bean person, whip up this spicy batch next time. It’ll clear your sinuses, and add a nice kick to your Mexican dishes.
Enjoy!


